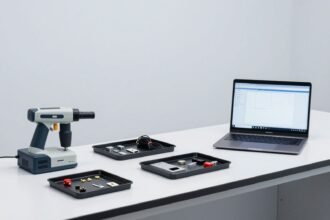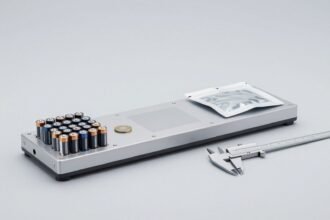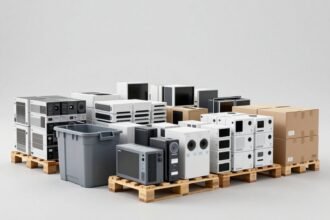
In the whole set of IEC 62321 standards, the part that is least mentioned is part 2 — talks about sampling and mechanical sample preparation. But this is the part that determines the correctness of all the following results. A single-digit ICP analysis is meaningless if the sample included in the analysis is not the material you intend to test.
Dissection is not “taking things apart to make them smaller”. It is a technical process that has tools, is orderly, has a separate treatment for each type of coating, and has an output of materials list enough to read and protect the results later.
This article delves into the removal technique in the spirit of IEC 62321-2: tools, removal order, treatment of plating – paint – glue – ink, how to make a list of materials and how to save samples. The concept of “homogeneous material” has been presented separately in this article What is “homogeneous material”?
1. What IEC 62321-2 says — and what it doesn’t
IEC 62321-2 is the part the standard is about sampling strategy and mechanical sample preparation (mechanical sample preparation) for electrical and electronic products. “Mechanics” is the key word: this section is about disassembling, cutting, crushing, grinding, grinding — no Talk about chemicals.
| Work | Nature | Output |
|---|---|---|
| Dissection (disassembly) | Disassemble/cut to separate parts and materials from each other | The material parts have been separated, retaining their characteristics |
| Grind (commitment) | Reduce a material into granules/powder | The sample has a uniform particle size suitable for analysis |
| Sample processing (digestion) | Chemistry — only performed at the analytical step | Solution or extract for measurement on the device |
IEC 62321-2 is the guideline for mechanical dissection and sample preparation; Chemical steps are in other parts (parts 4, 5, 6, 7, 8). Core point: all analysis results are based on the input generated by step 2 — If you peel off the right object, the number behind will have meaning.
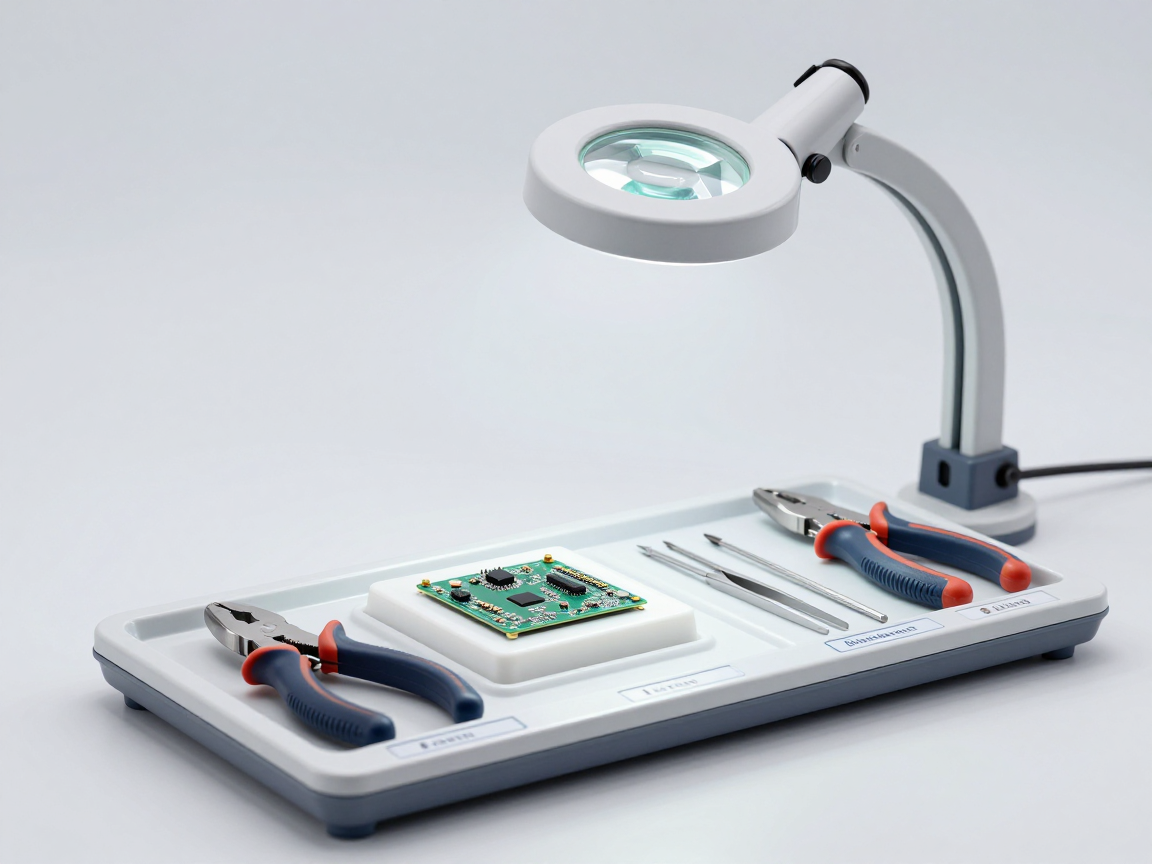
2. Dissection instruments — three principles for selecting instruments
- Do not contaminate the sample. Instruments must be clean and not transfer metals/chemicals to the sample. Steel knives can leave behind chromium or nickel shavings; Pliers used on samples containing lead may carry over to the next sample.
- Does not change the material. Don’t use heat to soften the glue, don’t use solvents to separate the paint layer — both change the very object you’re trying to measure.
- Clean between samples. Clean tools (alcohol, soft brushes, or separate tools) before moving on to another sample, especially between high-risk material groups.
Minimum tools, arranged by stage:
| Stage | Commonly used tools | Note sample contamination/transformation |
|---|---|---|
| Remove the link | Screwdriver, wrench, needle-nose pliers, pry knife | Do not apply grease to the release joint |
| Cut, divide into small pieces | Cutting pliers, scissors, knife, hand saw | Avoid blades with peeling chrome plating; Cut slowly to avoid generating heat |
| Separate the coating | Razor, abrasive paper, small grinder | Collect all coating material, do not mix with the substrate |
| Sample grinding | Rotary/knife mill, mortar | Do not use the same bowl between plastic and metal |
| Observe and locate | Magnifying glass, searchlight, analytical balance, measuring clamp | Take photos before, during, and after — especially thin coatings |
Points often overlooked: Weighing and photographing the sample is part of the dissection. The volume (or area) is used to calculate the limit, and the image is the proof of which class was correctly separated.
3. Disassembly order — from outside to inside, from function to material
Incorrect removal order often has two consequences: missing the coating (because it disappears when removed), or no longer being able to determine the location of the material in the product – a condition for consideration of exemption later.
- Take overall photos Product in its original form, serial/lot number, appearance condition.
- Remove the housing and connections (screws, clamps, joints) using hand tools.
- Separated by functional cluster: frame, power supply, motherboard, screen, mechanical structure, wires and cables, accessories.
- Go into each cluster: continue removing details, connectors, contact pins.
- Peel until uniform material: welds, plating, paint, coating, glue, stamp, ink, each type of plastic.
- Soft/flexible material group (PVC, cable, soft shell) separated and packaged separately.
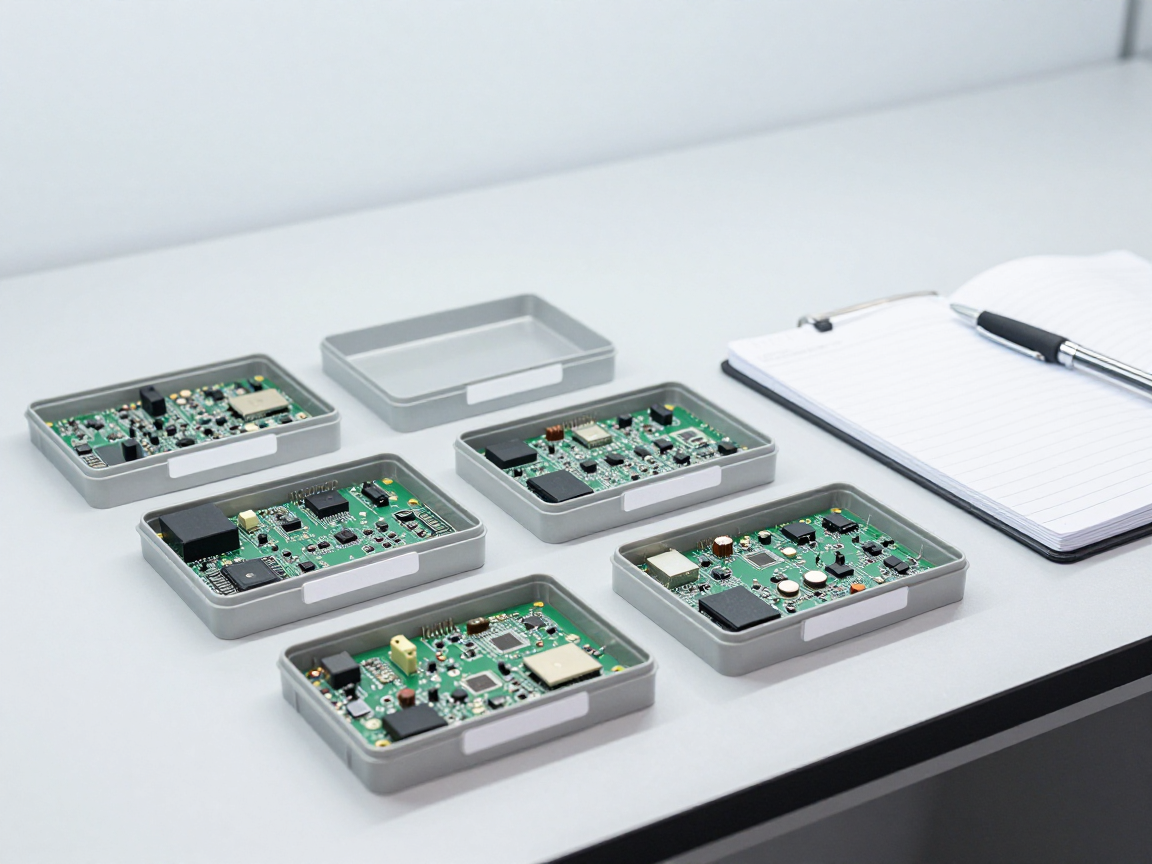
Each separated part must be placed Separate tray, label with sample code, record location. Location recording is a condition for reference to the exemption — for example, a solder joint that exceeds the lead limit may be valid if it is in the correct exempt application.
4. Handling plating, paint, glue, ink — where the risk is concentrated
This is the most difficult part of removal: the coating is very thin, tightly adhered to the substrate, and is where most of the RoHS risks (Cr(VI), lead, cadmium in pigments) are concentrated. Principle: coating is one separate homogeneous material, must be separated by equals mechanical measures and retain its original nature.
| Class type | Evaluation object | Separation method (mechanical) | Don’t do it |
|---|---|---|---|
| Metal plating (zinc, chrome, nickel) | Plating and passivation layer cover it | Scrape/grind to collect the plating layer; Very thin passive layer is taken according to surface area | Do not use acid to “peel” – it changes the oxidation state of chromium |
| Coating layer | Paint film | Scrape, mechanically peel, or lightly grind to collect the paint film | Do not use solvents to dissolve the paint film |
| Glue, adhesive | Glue layer | Pry, cut, cool until the glue is crispy and then peel off | Do not use heat to soften the glue |
| Printing ink, printing paint | Ink layer | Separate if possible; If not, evaluate the same base material and specify | Do not separate with solvents |
| Labels, decals | Ink, glue, film of stamps | Mechanical peeling | Don’t consider labels as “meaningless parts” |
With chromium-containing metal coatings, Cr(VI) results are often expressed accordingly mass per area (µg/cm²) not in percentage — so when separating the passive layer, it is necessary Measure and record surface area sampled. How to determine Cr(VI) on coatings is presented in the article colorimetric and ion chromatographic methods for Cr(VI).
5. Prepare material list — required output of take-off
A dissection session is only considered complete when it is done materials list (material inventory) — table connecting disassembly and all subsequent steps. Minimum columns needed:
| Column | Why is it necessary? |
|---|---|
| Sample code (unique symbol) | Access between sample tray and results |
| Material name (specific description) | Read the results according to the correct material, not in general terms |
| Location in the product | Conditions for exemption consideration |
| Function (shell, conductivity, insulation, adhesion…) | Risk grouping, comparison of exemptions |
| Volume/area | Calculate limit as a percentage or as µg/cm² |
| Risk groups (Pb, Cd, Cr(VI), bromine, phthalate…) | Decide what to try next |
This table is a bridge to the list of homogeneous materials in the technical documents, and is the basis for comparing the list of 10 restricted substances in the article. 0.1% and 0.01% limits.
6. Saved form – section for criticism when there is a dispute
Dissection consumes sample: the part that has been removed often cannot be recreated. So it must be considered from the beginning saved template (retained sample) and retrieval.
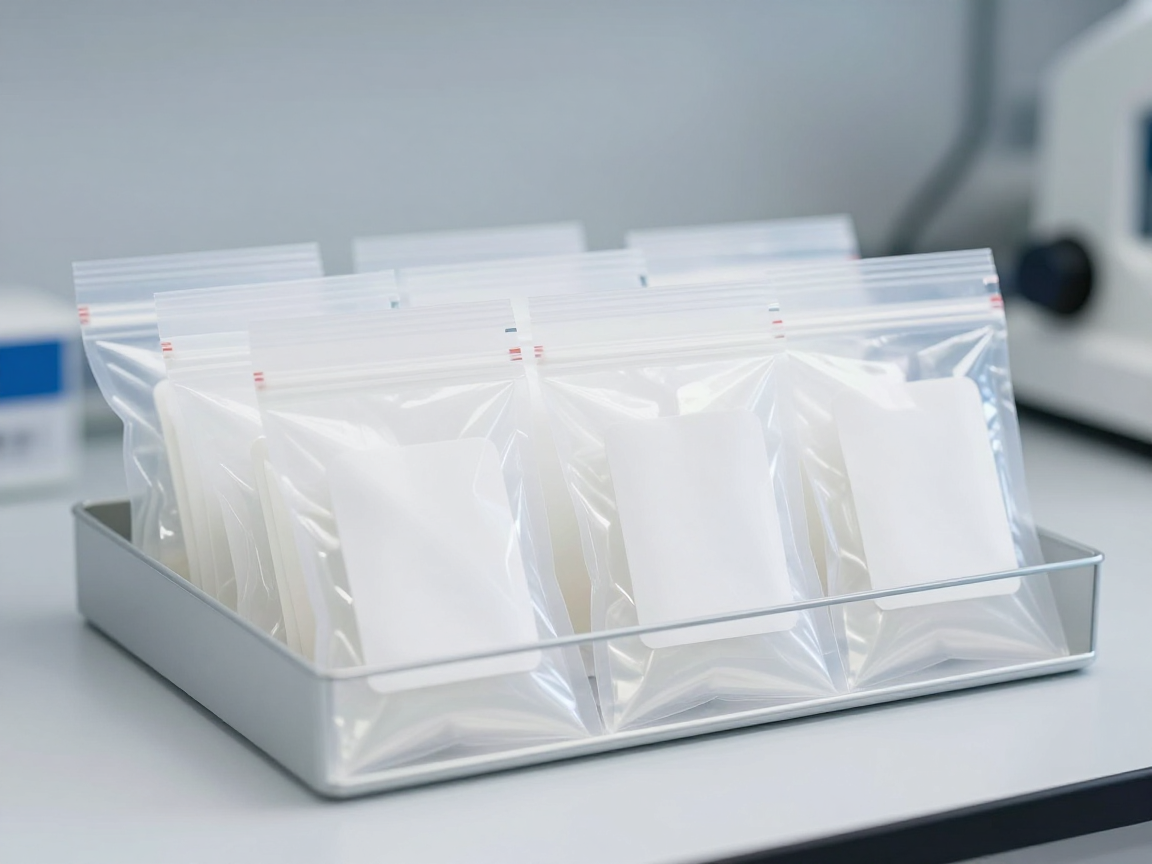
- Packed separately according to material. Don’t store multiple soft plastics in the same bag — phthalates can migrate between materials in the same bag and distort results.
- Store in dry, dark, stable temperature. For samples involving Cr(VI), avoid exposing the surface to moisture/oxidation; Send samples soon.
- Full labeling: sample code, date, harvester, original product/lot.
- Keep sample photos — evidence of proper separation and sample condition upon receipt.
- The amount of sample saved is sufficient for retesting, including trying a second room if there is a dispute.
Principles for selecting batches, number of sampless and control samples are presented separately in the article How many samples are enough for a RoHS test kit?
7. Six errors that cause dissection to fail
- Grinding many materials together. Results are diluted by mass; Offending material may disappear from the average.
- Missing coating, glue, ink, stamp. The highest risk group and most often overlooked when cataloging.
- Use solvent or heat to separate the layer. Changing the nature – destroying the object to be measured.
- Do not record location and sample code. The results are there but we don’t know which material or where it belongs to – cannot be considered for exemption.
- Cross-contaminated instruments. Lead/chromium stains from the previous sample stick to the next sample, creating a false positive result.
- Generic package save template. Phthalate contamination among soft plastic materials distorts both initial and retest results.
8. Frequently asked questions
Is it necessary to peel each material uniformly?
In principle, each homogeneous material is an object of evaluation. With complex products, it is practical to test representative groups of materials combined with material declaration and risk assessment — but all conclusions must still be about a specific material, not about the “whole product”.
Does the hand grinder used to remove coatings contaminate the sample with metal?
There is risk. Abrasive materials may carry their own constituents mixed into the resulting coating. It is recommended to use a type of known composition and an accompanying blank control to estimate contamination.
How can I confirm that the correct coating has been applied?
By verified observation: magnifying glass, before/after photos, and background control sample (where all the coating has been removed) for comparison. If the correct layer cannot be confirmed, the results are inconclusive.
After dissection, how long does it take for the sample to be sent?
The sooner the better, especially for samples that need to determine Cr(VI) on the coating because the surface can change over time. The specific storage time needs to be asked by the testing laboratory and compared to the corresponding part of the standard.
Is there any document regulating how to separate each type of product?
IEC 62321-2 sets out general strategies and principles; The specific implementation depends on the product and is determined by the testing laboratory’s internal procedures. Businesses should ask the testing laboratory to describe the analysis in the report.
9. Conclusion
Sample removal is the decisive step of the entire RoHS test procedure. Three things to do right: one, use clean mechanical tools, no heat, no solvents; two, disassemble by function and then by material, always record the position; three, ending with a full bill of materials and individual packaging samples.
The most overlooked point is the coatings — glue, ink, stamp, plating, paint. That is where most of the risks are concentrated and is also where it is often “accidentally” lost when removed. If you could only improve one thing about the RoHS process, start here: a disassembly process that is written down, has tools, is orderly, and has a list of outputs.
References
- IEC 62321-2 — mechanical sampling and sample preparation (extraction, disassembly procedures)
- IEC 62321 (other parts) — methods for determination of restricted substances in electrical and electronic products
- European Commission guidance on the RoHS Directive — concepts of “homogeneous material” and “mechanical separation”
- Directive 2011/65/EU — list of restricted substances and limits
Related articles
- From rough samples to cross-section images: casting, grinding, polishing and etching
- What is IEC 62321? What parts does the RoHS test method set include and what substances is it used for?
- RoHS test procedure from A to Z: from sample receipt, extraction, screening to reporting
Discuss further
Disclaimer
This article is an interpretive content compiled by us; not legal advice and does not replace the internal procedures of an accredited testing laboratory.
The specific dissection method depends on each type of product; Enterprises need to compare the text of IEC 62321-2 and the testing laboratory’s procedures.
See more: Copyright Policy & Disclaimer by ticforall.com.