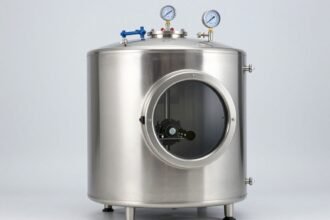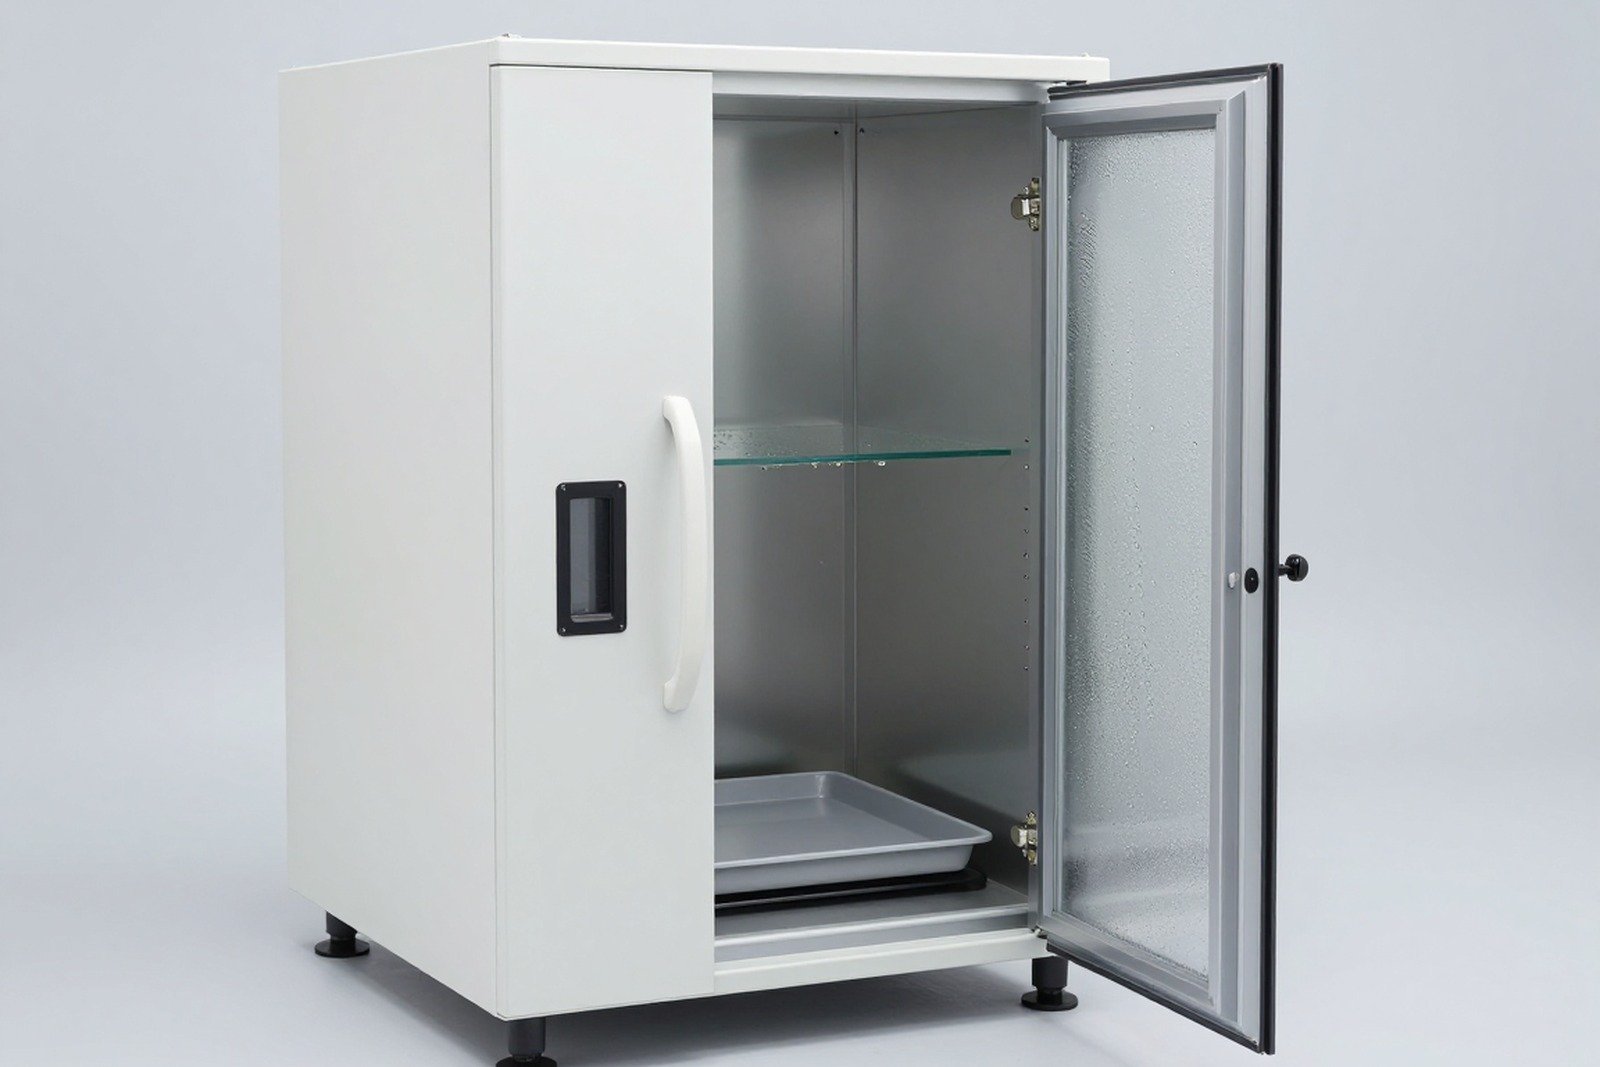
A sample has just come out of the cold chamber and is placed in a test room with air conditioning at 25 °C and high humidity — the sample surface immediately becomes watery. If the technician tests the function at that moment, the measurement result may be “fail” while the product is completely normal.
This article explains the mechanism of moisture condensation after sample removal from the cold chamber, why this is a source of spurious errors, and how to control it in the test room process.
1. Occurring phenomena and conditions
Condensation occurs when the sample surface temperature is lower dew point temperature of surrounding air. When the sample just leaves the cold chamber, the sample surface is colder than the room air; Moisture in the air when it meets a cold surface will condense into water.
Factors that determine the degree of condensation:
- Temperature difference between the sample and the surrounding environment — the larger it is, the easier it is to condense.
- Room air humidity — high humidity causes high dew point temperatures close to room temperature.
- Thermal mass of the sample — large, metal-rich samples stay cold longer, condensing more and lasting longer.
- Air speed in the room — wind enhances heat and moisture exchange, which can cause condensation to be faster and more even.
In Vietnam, test rooms typically have temperatures of 22–25 °C but seasonally high humidity; This is a very favorable condition for condensation when the sample leaves the cold chamber.
2. Why does moisture condensation cause erroneous results?
| Consequences | Mechanism | Shown in test results |
|---|---|---|
| Reduce insulation resistance | The water membrane creates a path between points of different potential | Insulation measurement “fails”, leakage current increases — but disappears after drying |
| Fake function error | Water bridges the contact, causing a temporary short circuit | The device does not start or reports an error immediately after testing |
| Corrosion onset | Moisture film on metal surface, exposed to air | Stains and rust appear on details that should not be rusted |
| Measuring device error | Steam condenses on the probe, on the measuring circuit | Abnormal measurements, not reproducible when measured again later |
| Confused about the origin of damage | No distinction between damage caused by testing and damage caused by manipulation | The conclusion is “sample failed” while the cause is the chamber entry/exit process |
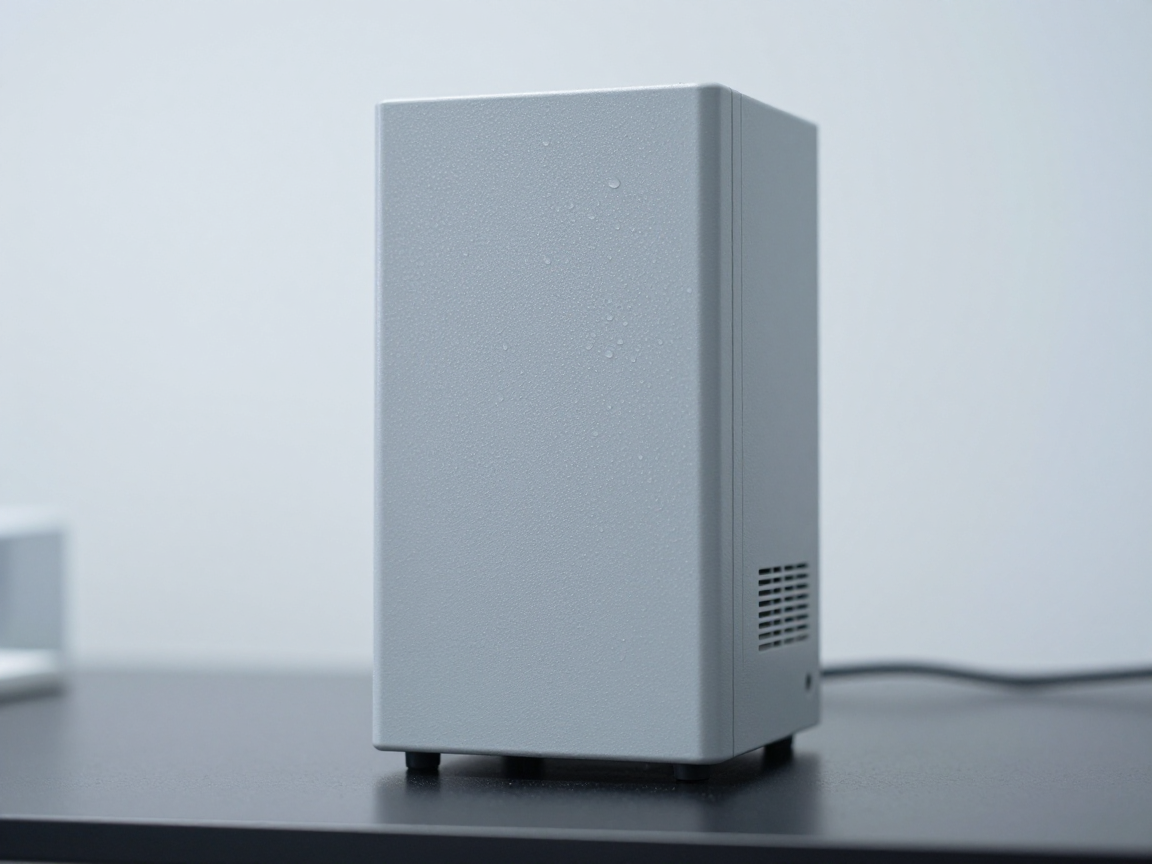
3. Distinguish between two sources of condensation
| Case | Nature | How to handle |
|---|---|---|
| Condensation in cyclic hot-humidity test | As part of the test definition (condensation phase) | Follow standards; Record the correct stage |
| Condensation occurs when the sample leaves the cold chamber | Due to operation and room conditions, not part of the test | Controlled by recovery process; must not be allowed to influence the conclusion |
| Condensation when transferring samples between two chambers | Due to the intermediate environment, the continuity of the test may be destroyed | Use sample transfer boxes/bags or controlled intermediate rooms |
This distinction is important: if condensation is part of the test, a “fail” result may be the correct result to record. If condensation is due to manipulation, the result is a spurious error and should not be used as a conclusion.
4. How to control the procedure
- Determine recovery conditions as required: Many tests specify conditions and recovery times before testing.
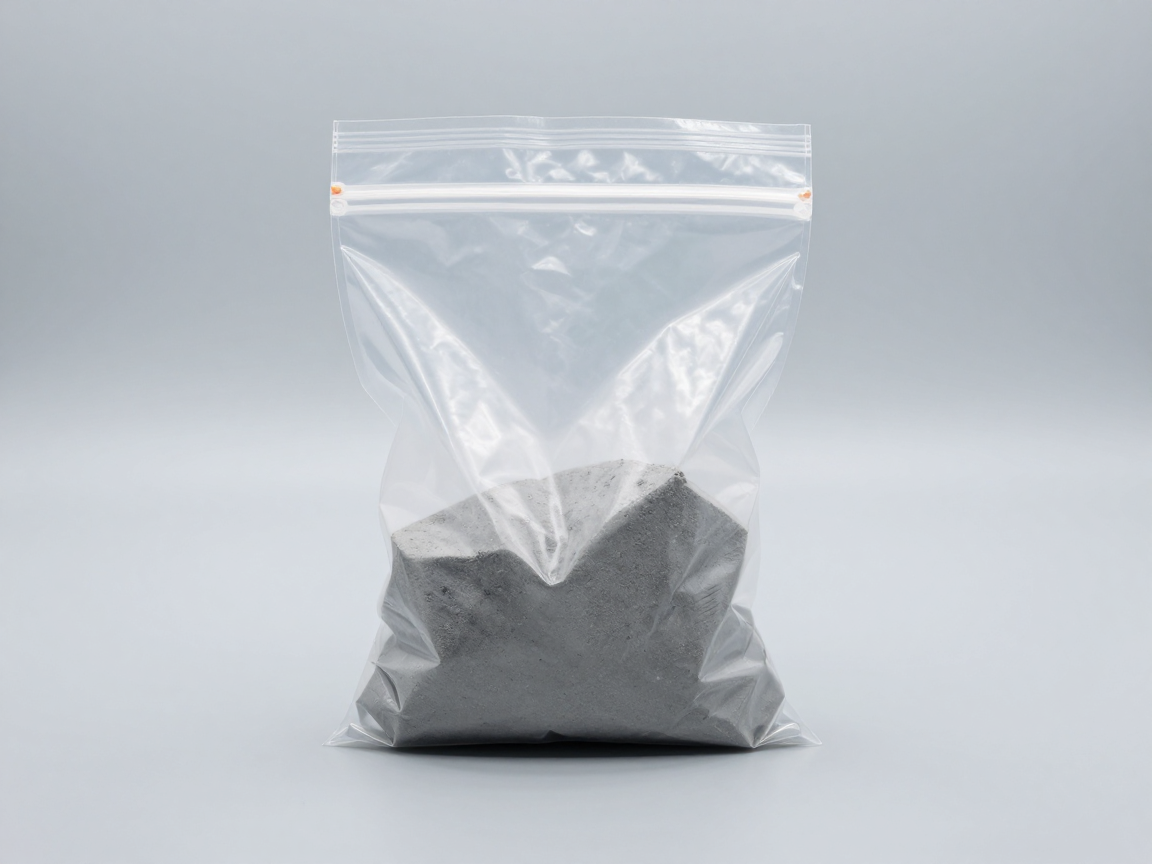
- Use a sealed box or bag when transferring samples: Keep the sample in a sealed bag when moving from the cold chamber to the testing area, so that the sample gradually warms up without contact with moist air.
- Adaptation time before test: Let the sample reach room temperature before measuring electrical parameters or checking function. If required, measurement at low temperature is not specified.
- Check appearance as soon as you leave the room: Taking photos before the water condenses can hide signs of damage.
- Dry and gently dry before measuring: Wipe the outer surface with a lint-free material, avoiding blowing moist air directly into the device.
- Control room humidity: Maintain an air-conditioned or dehumidified inspection area, especially during the wet season.
- Record room conditions: temperature, relative humidity, time the sample was outside the chamber — as evidence of the validity of the results.
5. Points to note when concluding
- Measure again after drying: If the parameter is abnormal at the first measurement but normal after drying, both measurements and conditions should be recorded.
- Distinguish between temporary and permanent errors: Faults that appear only at low temperatures may be real faults (e.g. loss of contact due to heat shrinkage); Error due to condensate is a fake error.
- Do not use measurement results in inappropriate conditions: If measurement is required under standard conditions, measuring when the sample is still cold is the wrong condition.
- Record photos before and after drying: Let readers of the profile evaluate the level of impact for themselves.
6. Common errors
- Check function as soon as the sample comes out of the cold chamber while requiring post-recovery testing regulations.
- Test room conditions are not recorded. leading to unexplained abnormal results.
- Dry with damp compressed air, causing water to be pushed deep into the device.
- Consider condensation caused by handling as product damage — the conclusion is wrong and may cause damage to the manufacturer.
- Skip the visual inspection immediately after leaving the room, loss of evidence of the true condition of the sample.
- There are no written procedures for entering/exiting the chamber, make each technician do it differently.
7. Frequently asked questions
Does moisture condensation behind the cold chamber damage the actual product?
In many cases, this phenomenon is only temporary and goes away when it dries. But if the sample has metal surfaces or exposed joints, repeated condensation can initiate corrosion.
How long is enough adaptation time?
Depends on the thermal mass of the sample and the temperature difference. The way to determine for sure is to measure the sample temperature and wait until the sample is close to room temperature, or according to the test’s regulations.
Can I use a dryer to quickly warm the sample?
It is not recommended, as rapid warming creates thermal shock which is not part of the test and may cause new damage. The correct way is to let the sample adapt slowly under controlled conditions.
What if the test requires measuring at low temperatures?
On request, measurements are performed in the chamber or immediately upon sample removal within a limited time. It is necessary to comply with regulations and clearly state the measuring conditions.
How to distinguish errors due to condensation and errors due to low temperature?
Record the phenomenon in two states (wet and dry) and two temperatures (low and room). If the error disappears when dry and at room temperature, it is most likely due to condensation.
Is it necessary to include this content in internal instructions?
There should be. This type of operational error is frequently encountered in climate test rooms in the humid tropics, and it directly affects the reliability of the results.
8. Conclusion
Moisture condensation when the sample leaves the cold chamber is a normal physical phenomenon, but how it is handled determines whether the test results are valid or not. This is the source of many “fail” conclusions that are not true to the actual product.
Three things to do: have a written procedure for transferring samples into/out of the chamber; Transfer samples in sealed bags and adapt samples before testing; and clearly distinguish whether condensation is part of the test or an operational error before drawing conclusions.
References
- IEC 60068-2-1, 2-2, 2-14 — Cold, dry heat and temperature change tests.
- IEC 60068-2-30, 2-78 — Cyclic and steady heat testing (test with condensation period).
- IEC 60068-1 — General regulations and guidance, including recovery conditions.
- IEC 60068-3-4 — Guidance on humidity testing.
- ISO/IEC 17025 — General requirements for laboratory competence.
Related articles
- Test Db: hot and humid cycle 12h+12h according to IEC 60068-2-30
- Load cold/hot test: how to place the sensor and measure sample temperature according to IEC 60068-3-7
- Self-heating of the device: how to determine the appropriate chamber temperature
- Test A (Cold): cold test according to IEC 60068-2-1, how are Ab and Ae different?
- Pass/Fail Criteria After Environmental Testing and Interim Functional Checks
Discuss further
Disclaimer
This article is an interpretive content compiled by us; not legal advice. Enterprises need to compare relevant documents/standards verbatim before applying them to specific products.
See more: Copyright Policy & Disclaimer by ticforall.com.