Quick summary
- Three features decide the outcome of an IP test and are the most often prepared wrongly: the charging port, the lid and the speaker membrane.
- One principle: the sample must be in the exact shipping configuration, with everything the user operates left in its real state — no tape, no sealant, nothing removed.
- A sample that “passes” because something was taped over gives a false result; a sample that fails because it was assembled carelessly wrongly condemns a good design.
- Photograph six faces, record the serial number and per-sample configuration, and keep a retained sample — disputes usually start after the sample has been taken apart.
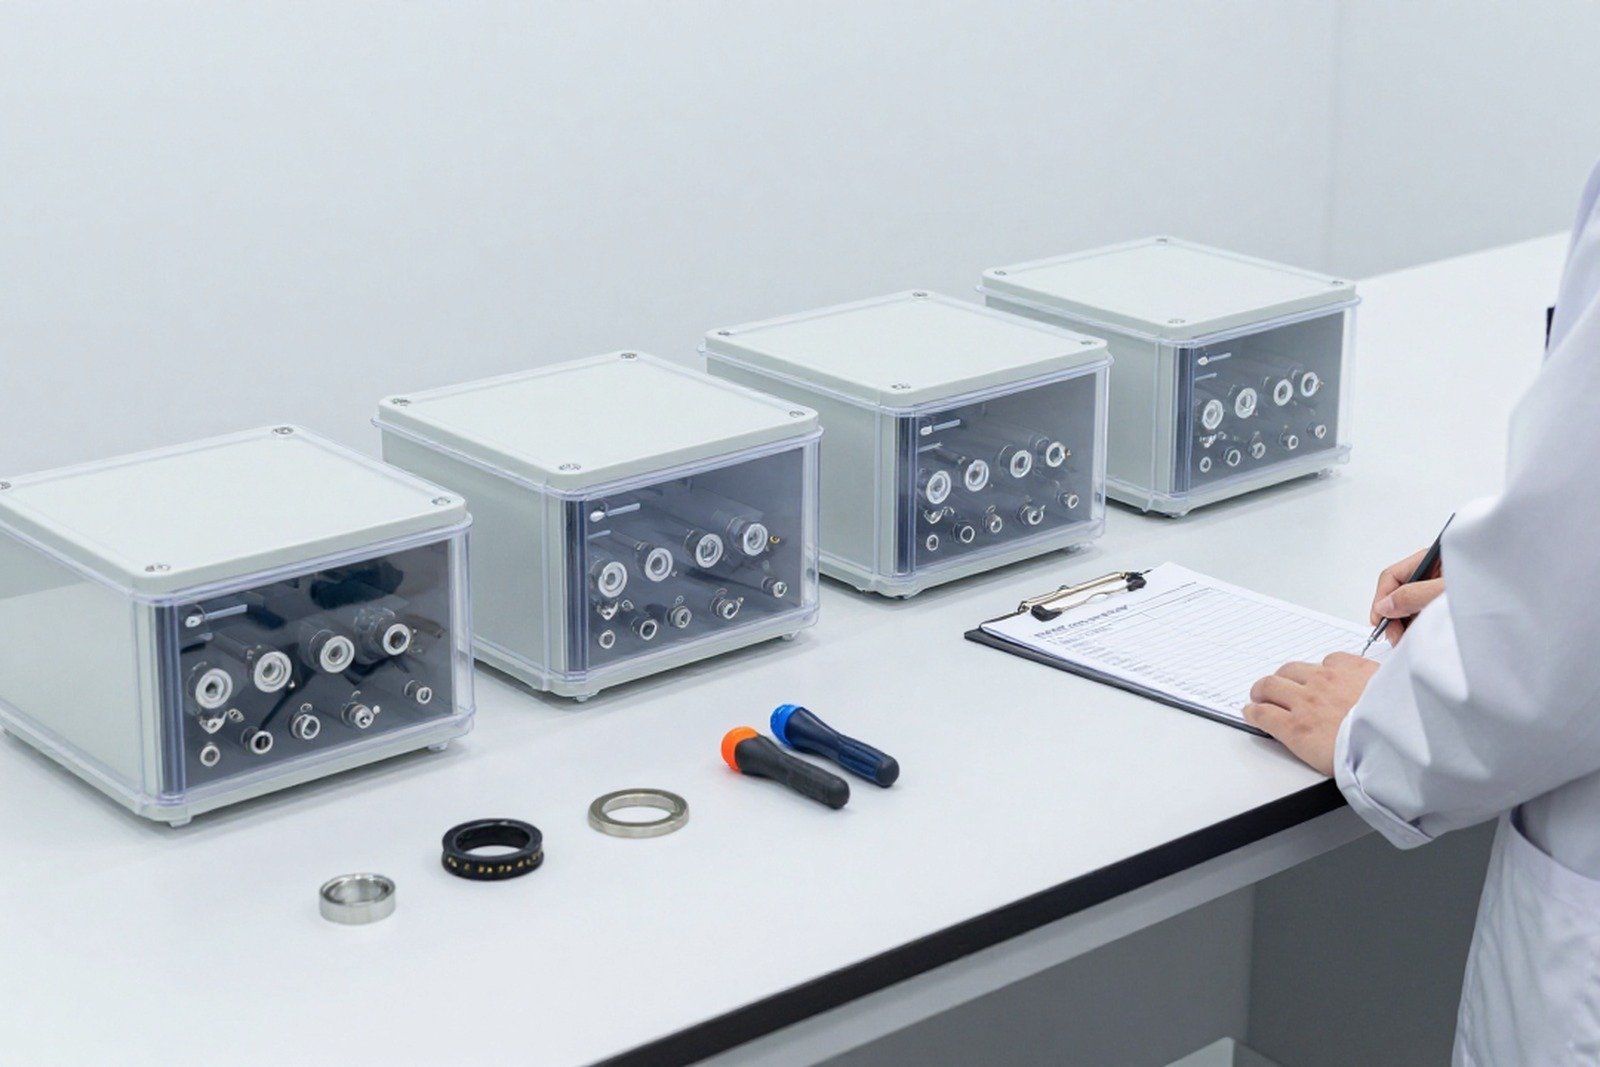
Sample preparation is the least discussed step of an IP test, yet it decides the result. The same design can “pass” or “fail” depending on how the charging flap was closed and whether the speaker membrane was creased during assembly.
1. Why sample preparation matters so much
An IP test measures the sealing of one object in one specific state, not an abstract design. So there are two kinds of error, opposite in direction and equally damaging:
- Errors that make the result look better: taping the charging port, applying sealant around a lid, removing the battery, omitting cable glands. The sample passes; the shipped product does not.
- Errors that make the result look worse: a lid closed off-centre, a pinched gasket, insufficient screw torque, a speaker membrane torn during assembly. The sample fails and a good design is wrongly condemned.
Both end the same way: when a field failure occurs, the report cannot help identify the cause.
2. The principle: the sample is the shipping configuration
One testable sentence: the sample must be identical to what the customer receives, in the state a normal user leaves it.
| Feature | State during the test | Common error |
|---|---|---|
| Charging port | Flap closed the way a user closes it | Taped over; closed with sand trapped; flap missing |
| Battery / service lid | Closed, tightened to the specified torque | Over-tightened so the gasket extrudes; under-tightened |
| Speaker / mic membrane | Intact, correct material lot, not creased | Torn membrane; adhesive covering part of it |
| Cable entry | Correct cable type and diameter, correct torque | Gland omitted; a different cable diameter used |
| Buttons, vents | As designed, not blocked | Vents taped “to keep water out” |
| Labels, stickers | Applied as on the real product | Label covering a hole or a leak path |
3. The charging port: four types and how to handle them
The charging port is the most common leak location on handheld devices: it is the largest opening in the housing and the one users open daily.
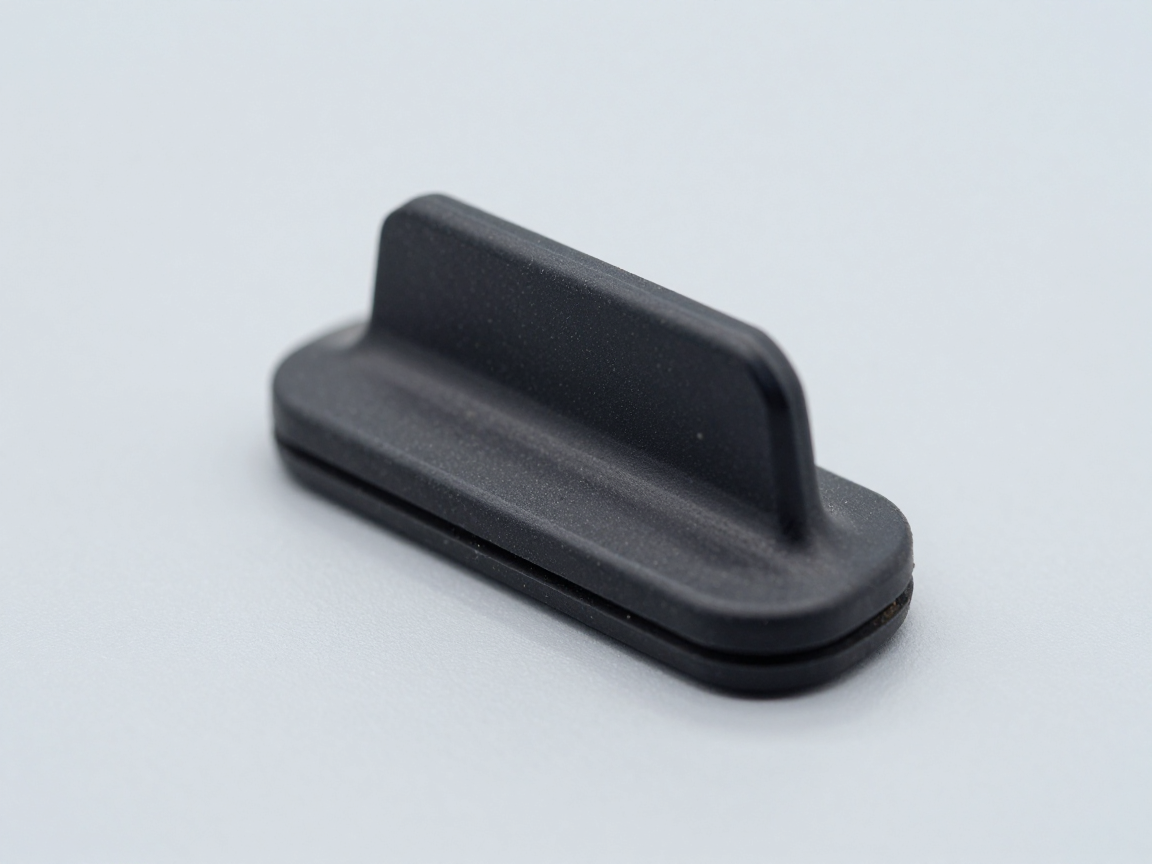
- Rubber flap pressed into the port: close it the right way round, the lip must sit flat and not folded. This is the type most often left half-closed.
- Sliding flap or hinged door: close until it clicks; check visually that the gasket is seated in its groove and not pinched.
- Open port, sealed from inside (sealed contacts or a magnetic port): no flap needed; test with the port open as in service, never taped.
- Flap fitted but frequently left open by users: test the “flap open” condition as a separate case, and state it in the report — because that is the real condition for part of the user population.
4. Lids and screw torque
On devices with a battery or service lid, two factors decide everything: gasket position and torque.
- State the specified torque in the design documentation and use a torque tool when building the sample. Tightening by feel is the largest single source of variation.
- The gasket must sit in its groove, not twisted and not pushed out as the screws tighten. Verify by opening one sample after tightening, before the test.
- With multiple screws, tighten in a diagonal sequence in two stages — the only reliable way to compress a gasket evenly.
- If the product allows users to change the battery, test one sample reassembled by someone unfamiliar with it, to see whether the design tolerates mistakes.
5. Speaker and microphone membranes
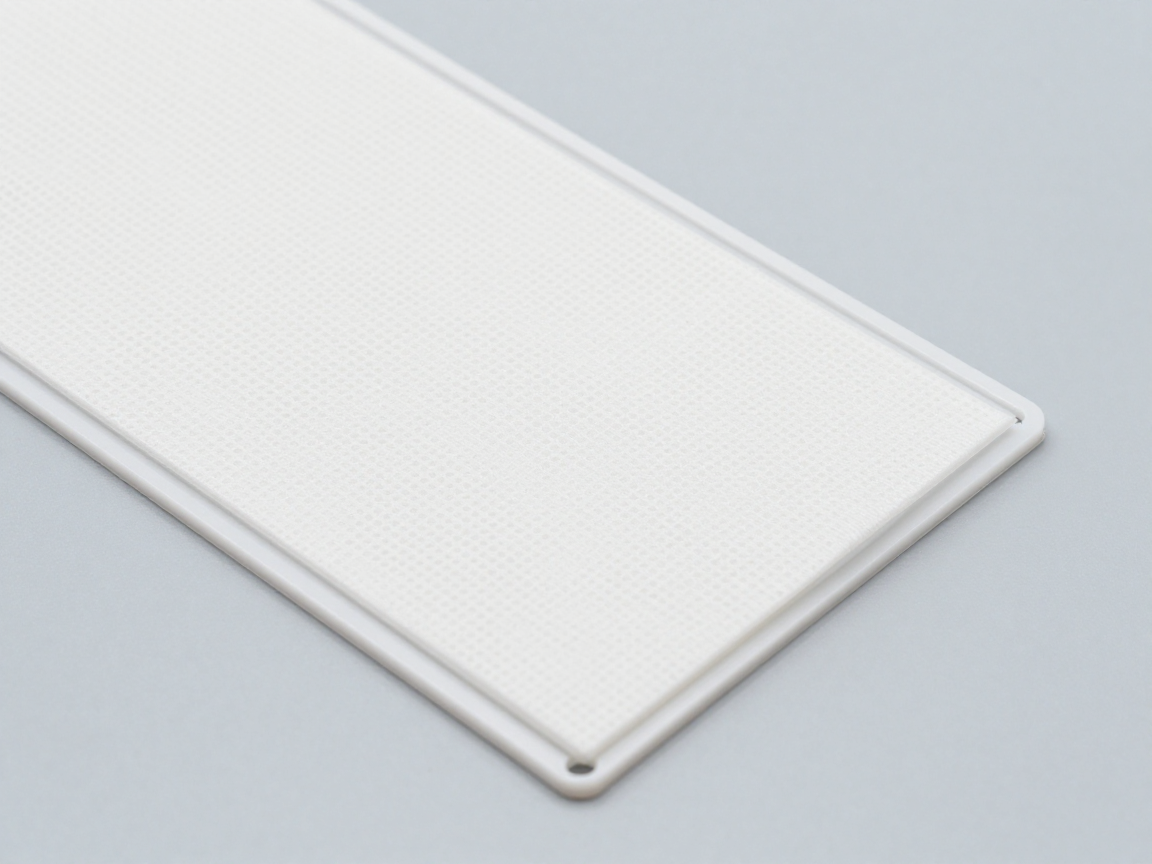
An ePTFE membrane passes sound but blocks water. It is also the easiest place to get a false pass:
- A wet membrane can seal temporarily. If the membrane is damp before the test (wiped, handled with wet gloves), surface tension can hold water back for the first minutes — the sample passes 30 minutes but fails in service. Samples must be dry, clean and at room temperature.
- A creased membrane or smeared adhesive reduces the effective area; inspect under light and record the membrane condition.
- Record the material lot. The same part number from a different lot can differ in thickness and air permeability; when a failure occurs, this is the first thing to check.
- The membrane is a consumable: if it can be replaced during repair, test a sample after membrane replacement to validate the repair process.
6. Cable entries and add-on parts
On industrial equipment the real leak path is often the cable entry, not the housing:
- Use the specified cable (outer diameter, jacket type). An undersized cable means the gland cannot compress properly.
- Tighten to torque with a torque wrench and record the value in the test record.
- If the product ships without a cable, test the state with the specified blind plug fitted.
- Add-on parts — brackets, external antennas, valves — must be fitted as shipped, because each adds an opening and a place for water to pool.
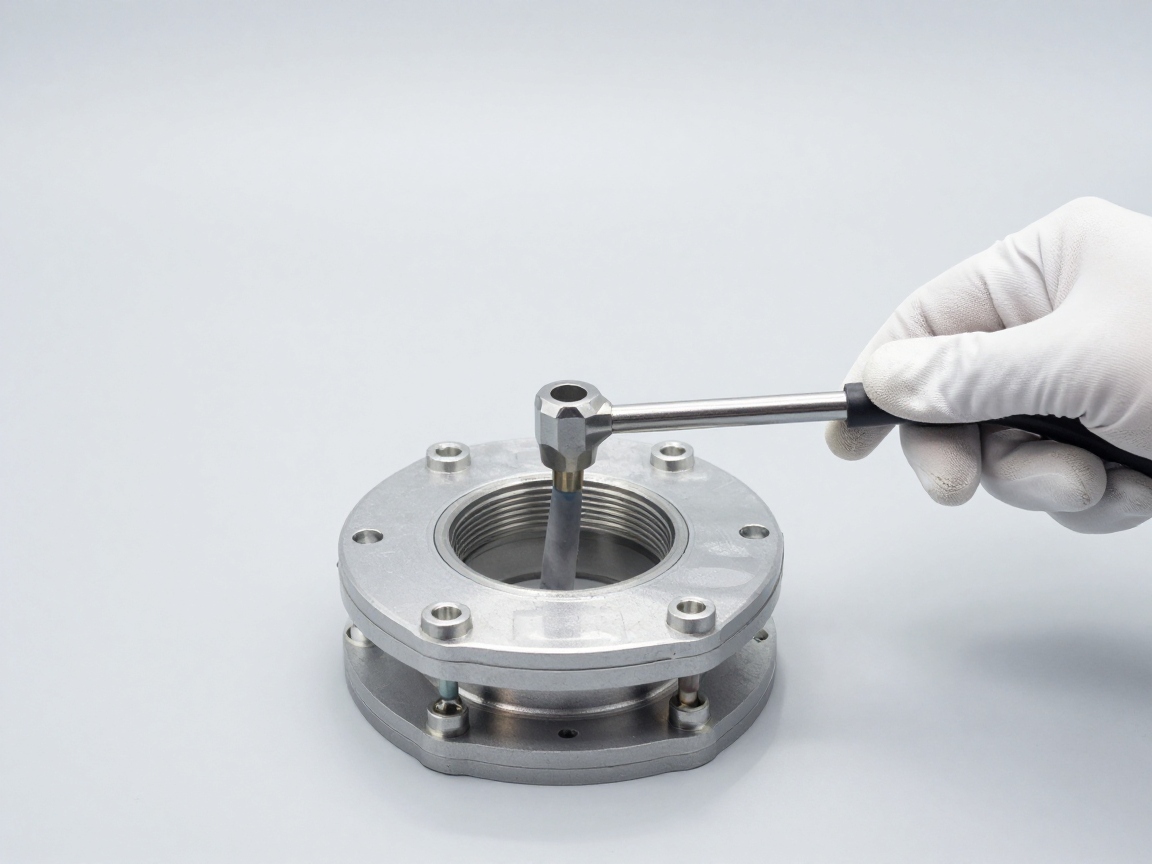
7. A twelve-step preparation procedure
| Step | Action | Evidence to keep |
|---|---|---|
| 1 | Take the sample from production, in shipping configuration | Serial number, production date, lot |
| 2 | Record the configuration: battery, flap, cable, accessories | Configuration sheet, signed |
| 3 | Photograph six faces before testing | Photos with scale and sample ID in frame |
| 4 | Inspect and clean gaskets and grooves | Close-ups of the groove before and after |
| 5 | Close the charging flap correctly | Photo of the closed flap |
| 6 | Fit the battery, close the lid, tighten to torque | Recorded torque values |
| 7 | Check the speaker/mic membrane: dry, intact, not creased | Close-up photo, membrane lot number |
| 8 | Fit the cable entry with the correct cable at the correct torque | Torque value, cable type |
| 9 | Stabilise the sample to the test temperature | Measured sample temperature before the test |
| 10 | Weigh the sample if a mass criterion is used | Mass reading, balance ID |
| 11 | Record the sample orientation in the chamber or tank | Photo and written description |
| 12 | Keep a retained sample from the same lot and configuration | Retained sample ID and storage location |
Step 12 is often skipped but is very useful: in a dispute, the retained sample allows a direct comparison and a check of the configuration actually used.
8. Sample records worth keeping
| Item | Content |
|---|---|
| Identification | Serial number, part number, production date, lot |
| Configuration | Present/absent: battery, flap, cable, accessories, labels |
| Consumable materials | Lot numbers of gasket, speaker membrane, adhesive where known |
| Assembly values | Screw torque, cable gland torque |
| Photos | Six faces before the test; compartment after opening |
| Retained sample | One unit from the same lot and configuration, untested |
9. When to prepare a “worst case” sample
Beyond the standard sample, testing a worst-case state shows the safety margin:
| Feature | Worst case | When to test it |
|---|---|---|
| Charging port | Flap open (user forgot) | Outdoor products, general consumers |
| Battery lid | Closed off-centre, a strand of gasket pinched | Products the user can open |
| Gasket | Aged, compression set | Long life, hard to service |
| Speaker membrane | Damp or creased | Wearables, frequent rain exposure |
| Cable entry | Cable at the smallest permitted diameter | Industrial equipment, field-installed |
10. Six common preparation errors
| Error | Consequence | How to avoid |
|---|---|---|
| Taping over the charging port | False pass; the shipped product still leaks | Close the flap only; if the flap does not seal, that is the result you need |
| Testing an empty housing | Misses leak paths through ports and buttons | Test the shipping configuration |
| Tightening screws by feel | Uneven gasket compression, random results | Use a torque wrench and record values |
| Damp speaker membrane | Temporary sealing, optimistic result | Dry, thermally stabilised samples |
| No photos before the test | Cannot prove the configuration used | Photograph six faces with the sample ID |
| No retained sample | Nothing to compare in a dispute | Keep one untested unit from the same lot |
11. What to write in the contract or test request
Five points belong in the test request, because they decide the outcome:
- Sample configuration: list each feature (battery, flap, cable, accessories) and its state during the test.
- Torque values: the specified torque for lid screws and cable glands, plus the requirement to record actual values.
- Membrane state: dry, intact, with the material lot number.
- Additional states if needed: for example “test one additional sample with the charging flap open” — as a separate case, not merged with the standard sample.
- Sample records: six-face photos, a signed configuration sheet, and a retained sample.
Model wording: “Sample in the exact shipping configuration: battery fitted, charging flap closed, no tape or sealant, cable gland with the specified cable tightened to 2.5 N·m; speaker membrane dry and intact with lot number recorded; six-face photographs and one retained sample from the same lot to be provided.”
Frequently asked questions
Can the charging port be taped during the test?
Not if the result is meant to apply to the shipped product. Taping is acceptable only when the purpose is to localise a leak, and the report must state that it was a diagnostic test, not a verification test.
What if the product ships without a cable?
Test with the blind plug specified by the manufacturer. If it ships with a cable, test with that exact cable.
Does a damp speaker membrane distort the result?
Yes. A wet membrane can seal temporarily in the first minutes, so the sample passes while the product will leak in service. Samples must be dry and thermally stabilised.
Should we test a sample reassembled by a user?
Yes, for products where the user can open the battery compartment. It is the way to check whether the design tolerates assembly mistakes.
How many samples are enough?
Usually three per configuration, all of which must pass. If there are several configurations (for example flap closed and flap open), each is its own group of samples.
Conclusion
Sample preparation is not paperwork before the test; it is part of the measurement. Three locations — charging port, lid, speaker membrane — account for most of the variability, and all three are handled with very specific steps.
Immediate task: turn the twelve-step procedure in section 7 into your laboratory’s form, and require six-face photos for every sample. Those two small steps remove most later disputes and make the test result reflect the product actually shipped.
References
- IEC 60529 — degrees of protection, requirements on test samples and configuration.
- IEC 60068-1 — general principles of environmental testing, sample conditioning.
- ISO 20653 — degrees of protection for electrical equipment on road vehicles.
Related articles
- IPX7 explained: immersion at 1 m for 30 minutes
- Why IP67 devices still fail in the field
- IPX8: why there is no standard level
- Is IP6X really dust-tight?
Talk to us
Disclaimer
This article is our own interpretation; it is not legal advice. Readers should check the official text of the standard before applying it to a specific product.
See also: Copyright Policy & Disclaimer of ticforall.com.