This article is the pillar of a series on RoHS: the entire path of a model, from the time a business submits a request to the time it has a report and a record that stands up to market surveillance agencies.
The most important points to understand before reading: The test result is only correct if the previous steps are correct. If the analysis is wrong, the analysis results will be meaningless no matter how accurate they are. Without risk assessment, the dossier may be full of reports but still lack substance.
1. The big picture: 8 steps
| Step | Work | Who did it? | Output |
|---|---|---|---|
| 0 | Receive and clarify requests | Business + test room | Description of scope, target market, applicable standards |
| 1 | Collect information and assess risks | Enterprise (chair) | List of materials, BOM, supplier declaration |
| 2 | Select template | Business + test room | Representative sample, saved sample |
| 3 | Dissection until homogeneous material | Test room | List of homogeneous materials with sample symbols |
| 4 | Screening (XRF) | Test room | Screening results by 3 regions |
| 5 | Try to confirm by chemical method | Test room | Quantitative results for each substance |
| 6 | Evaluate results (including exemptions) | Business + test room | Pass/fail conclusion for each material |
| 7 | Reporting and documentation | Test room + business | Test reports, technical documents, declaration of conformity |
In these 8 steps, Enterprises must preside over steps 1 and 6. The testing laboratory cannot know which exemptions your product has, nor can it know which materials pose the highest risk in your line. This is the reason why many businesses receive a “pass” report but still do not feel secure.
2. Step 0 — Clarify requirements before submitting the form
Three questions must be answered clearly, in writing:
- What is the purpose of this test? Internal control, proving compliance to customers, or resolving a specific dispute? These three purposes lead to three very different sampling strategies.
- Which is the target market? EU, China or both. This determines the set of standards cited — for example, for the Chinese market, from August 1, 2027, the GB/T 39560 series must be taken into account, not just IEC 62321.
- According to which documents are standards and limits applied? If the customer requires a specific regulation (e.g. their internal standard), it must be stated at the outset.
3. Step 1 — Collect information and assess risks
This is the most laborious step and also the most overlooked step. Nature: You can’t test every material in a product — a circuit board can have 20–50 homogeneous materials. Therefore, priority must be given according to risk.
Information to collect:
- BOM and drawings at a level of detail sufficient to identify the material (not just the part number).
- Declare materials from suppliers — according to the homogeneous material structure, with the content of restricted substances.
- History: Has the product/component ever had results exceeding the limit? Has the supplier changed its technology recently?
- Material source: recycled plastics, galvanized steel, brass alloys, PVC — these are known high-risk groups.
How to assess risks along two axes — common and consequences:
| High risk | Why? | Priority |
|---|---|---|
| PVC cable cover, soft plastic pipe | Phthalates, lead, cadmium | Required phthalate chemical testing |
| Galvanized details with passivation | Cr(VI) | Test for Cr(VI) by the overlay method |
| Recycled plastic (ABS/HIPS) | PBDE, cadmium from impure sources | GC-MS test for organic bromine |
| Brass alloy, valves, connecting pipes | Lead up to 4% in many grades | Check the 6(c) exemption and applicable deadline |
| Printing ink, glue, stamps | Phthalate, Cr(VI), lead | Often overlooked in the dissection category |
| High temperature weld | Lead under 7(a) exemption | Confirm the correct exemption subsection |
4. Step 2 — Choose a template
Three principles of practice:
- The sample must be representative of the version in production — same supplier, same material grade, same process. If the supplier changes the source of the resin, the old sample is no longer representative.
- Batch samples when batch conclusions are needed: if the purpose is to demonstrate a specific batch, there must be a sample taken from that batch and the batch number must be clearly stated.
- Always save control samples — the remaining sample, preserved in the right conditions, so that it can be retested in case of dispute. Without a sample, it is impossible to criticize.
The number of samples and sampling method have their own principles, which are presented in detail in the article on sample selection for a RoHS test set.
5. Step 3 — Dissection until uniform material
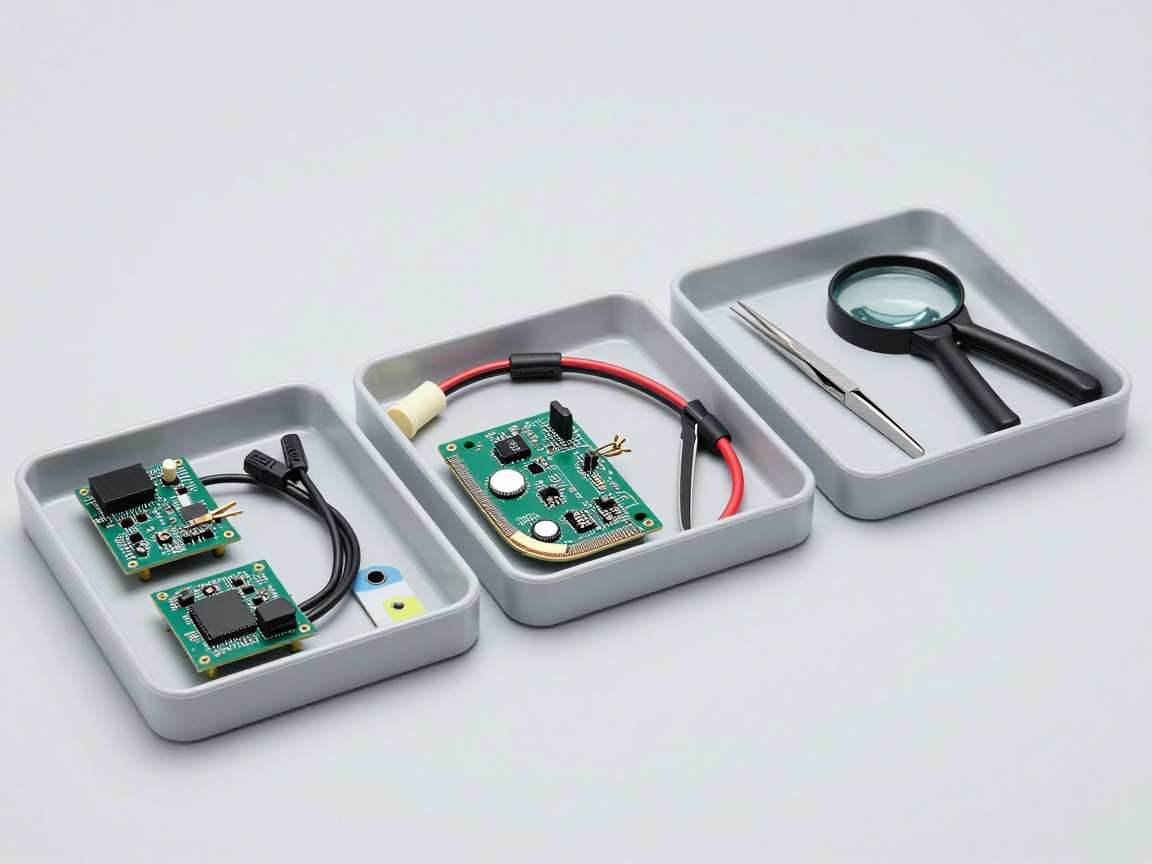
This is the step that determines the correctness of everything behind. Principle: separation by mechanical means (removing, cutting, crushing, grinding, grinding) down to the smallest unit of material that still has material significance — plating, paint, weld, each type of plastic.
The output of this step should be one homogeneous material list with sample designation, with a description of the location in the product. Without this list, it is impossible to read the results later, and even more impossible to explain to the customer why a result above the limit is acceptable.
Concepts and common errors are presented in the article What is “homogeneous material”?
6. Step 4 — XRF screening
The purpose of screening is Reduce the number of samples requiring chemical analysis, not to conclude. Screening results are divided into three zones: pass, inconclusive (close to the limit) and fail. All samples in the inconclusive and failed zones must move on.
Two parallel limitations to remember: XRF does not distinguish Cr(VI) from Cr(III), and Four phthalates were not tested at all. That is, an XRF-only procedure has never tested 4 of the 10 restricted substances. Details in the article XRF RoHS screening: how to read the results, how much to trust.
7. Step 5 — Test confirmation for each substance
| Quality | Commonly used method | Corresponds to IEC 62321 |
|---|---|---|
| Lead, cadmium, mercury in plastic/metal | ICP-OES or ICP-MS after sample digestion; AAS for some cases | Part 5 (lead, cadmium), part 4 (mercury) |
| Cr(VI) on metal coating | Colorimetric with diphenylcarbazide | Part 7-1 |
| Cr(VI) in polymers and electronic materials | Measure color after extraction; Ion chromatography is an additional technique when the sample matrix is complex | Part 7-2 |
| PBB and PBDE | GC-MS after extraction | Part 6 |
| Four phthalates | GC-MS after extraction | Part 8 |
| Initial screening | XRF | Part 3-1 |
Note on the Chinese market: GB 26572-2025 uniquely specifies the chain GB/T 39560 do the test method. The principle is almost equivalent to IEC 62321, but the report needs to cite the correct set of Chinese standards specified.
8. Step 6 — Evaluate results: a step that factories often skip
Test results are data. The conclusion is: reviews. The gap between these two things is where the most errors arise.
Correct evaluation order:
- Determine which materials exceed the limit and to what extent.
- Check for exemptions before concluding a violation. Materials that exceed the limit but fall within a valid exemption are eligible. This is a step that many businesses skip, leading to unnecessary material replacement — or conversely, confidence that the exemption has expired.
- Check the exemption’s expiration date by each subsection (e.g. 6a, 6b, 6b-III, 7a-I) and by the 2026–2027 milestone. See article RoHS Annex III Exemption.
- Consider representativeness: this result represents which version, which batch, which time period.
- Record the entire argument — conclusions without arguments are worthless when questioned.
9. Step 7 — Reports and records
The test report is part of the technical file, not the entire file. Three documents need to be clearly distinguished:
| Documents | Who created it? | Role |
|---|---|---|
| Test report | Test room | Data for submitted samples |
| Technical profile | Enterprise | Demonstrate the evaluation process, including the non-testable portion |
| Declaration of Conformity (DoC) | Enterprise (responsible person) | Legal declaration, signed and responsible for the content |
Commonly misunderstood point: there is no organization that “issues RoHS certification” in lieu of the manufacturer’s responsibility. Test reports are proof; The new declaration of conformity is a legal commitment.
10. Typical time
| Stage | Common time |
|---|---|
| XRF screening of several materials | During the day |
| Dissecting a complex product | 1–3 business days |
| Metal analysis (ICP) | 3–5 business days |
| GC-MS for PBB/PBDE and phthalates | 5–7 business days |
| Cr(VI) by coating method | 3–5 business days |
| Output a complete report for a set of samples | 7–10 business days |
This number varies according to laboratory load and whether the sample must be reprocessed or not. Safety plan: calculate 2 weeks for a new set of documents, and send samples at least 3 weeks before the reporting deadline.
11. Six errors that cause processes to fail
- There is no uniform material list. Send the “whole product” to the testing room and then receive a conclusive unusable report.
- Just do XRF. Four phthalates and Cr(VI) were not tested — but the records appear as if 10 substances were tested.
- Skip glue, ink, stamp, coating. These are the materials that are most likely to exceed the limit and are most likely to be missed.
- Do not check exemptions before concluding. This leads to two opposite mistakes: replacing unnecessary materials, or relying on expired exemptions.
- Do not save the template. Without a control sample, when there is a dispute, businesses have no basis for criticism.
- Records do not update when changed. Changing plastic suppliers, changing plating, changing ink — each change makes the old results less representative.
12. Frequently asked questions
Is it mandatory to test every material uniformly?
In principle, any homogeneous material should be below the limit. In practice, the profile is built by combining: testing representative samples by material group, material declaration from the supplier, and risk assessment. It is imperative grounded for each conclusion — not trying everything, but not jumping to conclusions about the unfounded.
How is this process different when selling into China?
Three points: the specified test method (GB/T 39560), the requirement for the EFUP label and substance declaration sheet, and the grouping of products according to regulatory management categories. See article GB 26572-2025.
The product has many color versions and lengths, how to try it?
Group variations by material: test a representative sample for each different material group. Shells of different colors but the same type of plastic and the same supplier can use the same result if there is a basis (material declaration, stability history). If there is no basis, it must be tested — especially with colorants because cadmium and chromium are often found in pigments.
Can old test reports be reused?
Yes, if three conditions are true: (1) the report includes all substances restricted under current regulations (including the four phthalates); (2) the sample in the report still represents the production version; (3) there have been no changes in materials, suppliers or processes since then.
Who is ultimately responsible?
The person who puts the product on the market — for exports to the EU, is usually the manufacturer or importer listed on the product. The test room provides data; The responsibility for concluding compliance with regulations belongs to the enterprise.
13. Conclusion
The RoHS test procedure has eight steps, but only three steps determine the quality of the documents: risk assessment (know what to try), dissection (try the correct object), and Evaluate the results to consider exemption (correct conclusion). The rest is technical — important, but the above three steps cannot be compensated for if they are done poorly.
If you can do only one thing to improve your RoHS profile, do this: Create a uniform list of materials for key products, with the risk level of each material. It’s the foundation of everything else.
References
- IEC 62321 (parts) — determination of restricted substances in electrical and electronic products
- IEC 62321-2 — mechanical sample removal, disassembly and preparation
- IEC 62321-3-1 — XRF screening
- Directive 2011/65/EU and Annex III (exemptions)
- Harmonized standard EN IEC 63000 — technical document for evaluation of electrical and electronic products against quality restriction requirements
Related articles
- From rough samples to cross-section images: casting, grinding, polishing and etching
- Which step is wrong? Analysis of 5 situations where goods are recalled because of RoHS
- Cadmium in plating and brass alloys: a little talked about RoHS hot spot
- Foreign suppliers refuse to declare: how do businesses self-manage RoHS risks?
- When is XRF only needed, when is wet testing required? Batch RoHS control strategy
- Material declaration according to IEC 62474 and IPC-1752A: what must the supply chain send and receive?
- Only sample RoHS report, no batch report—is it valid?
- How long does a RoHS test kit take and what does it cost?
- Checklist of 20 RoHS control points for electronics factories (input – production – output)
- What does a RoHS test report need to be valid? 9 items cannot be missing
- What is GB/T 39560? Why does China uniquely specify this set of test methods?
- What capabilities does a RoHS test room need? ISO/IEC 17025, VILAS and scope of accreditation
- PBB/PBDE testing by GC-MS: why recycled plastics are organic bromine hot spots
- Lead, cadmium, mercury testing: ICP-OES, ICP-MS or AAS — which method to choose?
- What happens if the RoHS exemption expires? Rules for spare parts and inventory
- RoHS scope of application: which products must comply, which products are excluded?
- Cr(VI) test: how are colorimetric and ion chromatography (IC) different?
- Testing 4 phthalates (DEHP, BBP, DBP, DIBP): GC-MS principles and 6 common traps
- Dissection of the sample according to IEC 62321-2: if this step is done incorrectly, all subsequent results will be meaningless
- RoHS technical records according to EN IEC 63000: what must businesses save and submit?
- Is there “RoHS certification”? Distinguish between test report – certificate – declaration of conformity
- How many samples are enough for a RoHS test kit? Principles for selecting samples, stored samples and control samples
- What is IEC 62321? What parts does the RoHS test method set include and what substances is it used for?
- XRF reports “Cr” exceeds the limit: why is it not sure it is Cr(VI) and what should be tested next?
- 10 RoHS restricted substances: how do the 0.1% and 0.01% limits apply to “homogeneous materials”?
- What is RoHS? Complete guide to Directive 2011/65/EU and its 10 restricted substances
Discuss further
Disclaimer
This article is an interpretive content compiled by us; not legal advice. Times and procedures stated are based on common testing practice and may vary by testing laboratory.
See more: Copyright Policy & Disclaimer by ticforall.com.